OrangeFilter Designer is a visual effect design tool specially provided for the OrangeFilter SDK running Windows. With this design tool, you can create new effect packages or modify the performance of existing effect packages and input these as materials for the OrangeFilter SDK. Specific adjustment parameters will vary according to different packages' actual effects. See specific parameter descriptions in the effect document.
Before using OrangeFilter Designer, it needs to be activated with Windows SN, which is provided at the time of purchase.
Note:
The effect package is a combination of multiple filter effects, each of which may be modified, deleted, or supplemented with a newly added filter. The final effect is the superposition of all the filter effects in an effect package (note that the order of filters may affect final performance and that order is adjustable).

On the Homepage, create a new effect by clicking the  button on the Toolbar in the upper left corner or "File/New Effect" in the top Menu; you can also press Ctrl+N. A small window will appear:
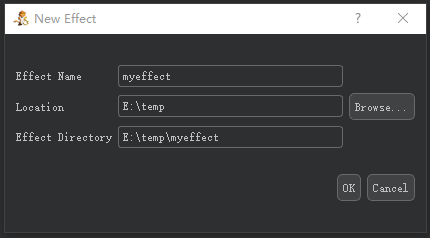
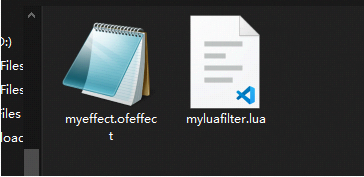
In this window you can change the effect name and save path. Then click OK. An effect folder will be created:
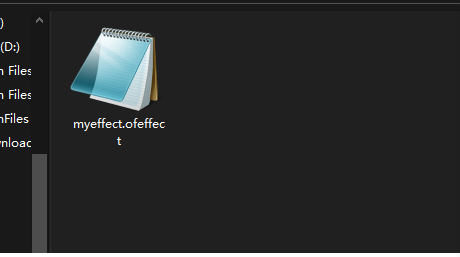
Once created, Designer opens the effect by default. You do not need to open it manually. To manually open an effect (.ofeffect file), click the  button on the Toolbar or the "File/Open Effect" button in the Menu Bar; you can also press Ctrl+O.
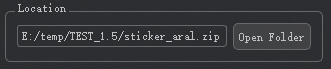
With an effect already opened in Designer, you can choose "Effect Properties" > "Position" on the Homepage and open the effect's folder on your disk.
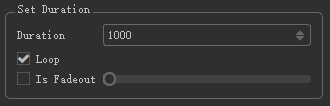
On the Homepage, select "Effect Properties" (left side of the page by default) to set the effect cycle.
Click the  button on the Toolbar to turn on the camera. Click the
  button on the Toolbar to turn off the camera.
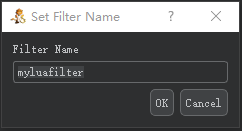
On the Homepage, click the  button on the Toolbar or the "Filter/New LuaFilter" button in the Menu to create a new LuaFilter. A "Filter Name" page will appear:
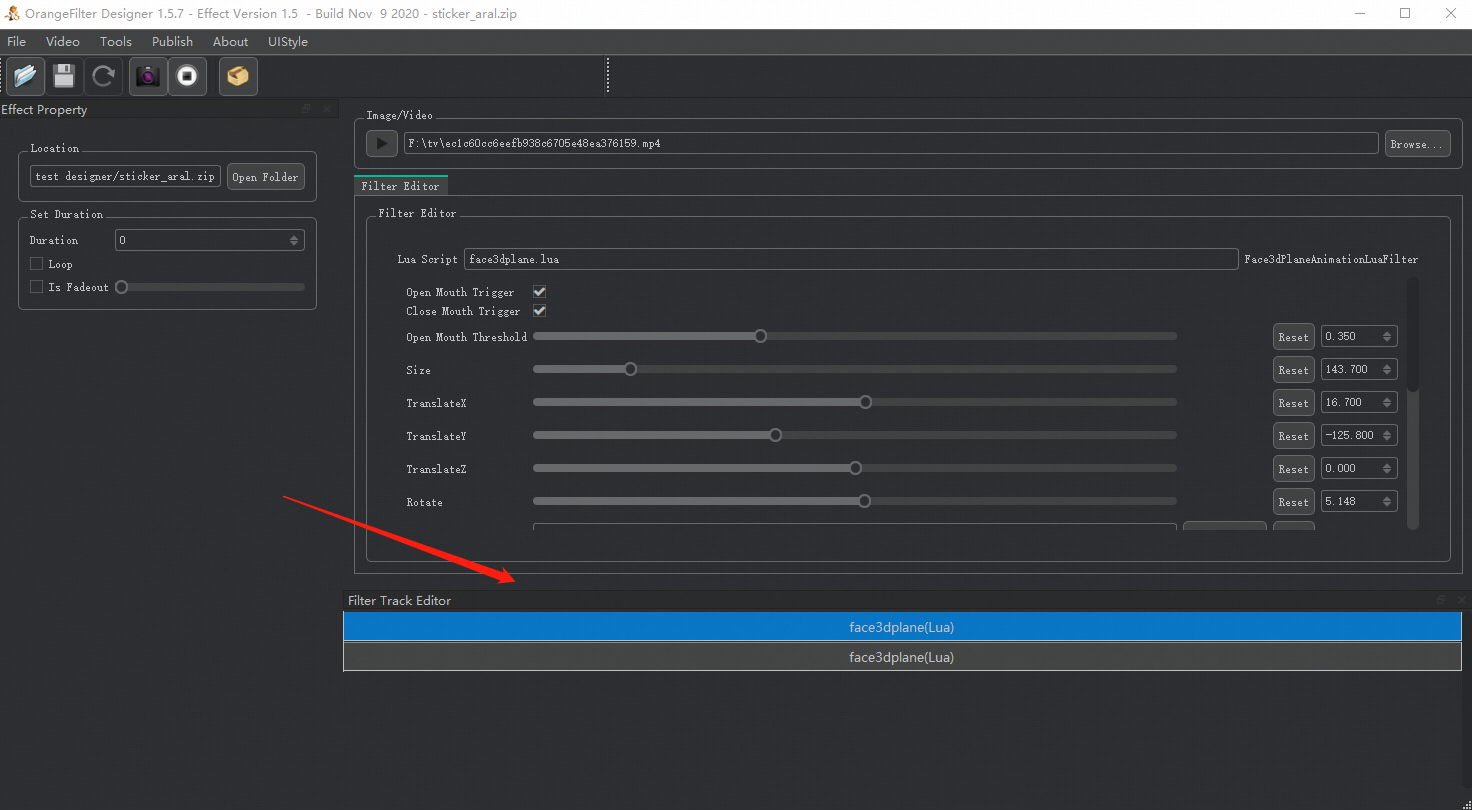
Click "OK". The filter is added to the effect. As shown below, the added filter appears on the "Filter Timeline Editor" page. Click the filter and view its parameters on the "Filter Editor" page. The editor page in the example only shows the path configuration of the filter's Lua script (because there is no need to edit parameters for a newly created default filter).
To save the effect with added filters, click the  button on the Toolbar or "File/Save Effect" in the Menu; you can also press Ctrl+S.
If you have inserted multiple filters, they will queue in the "Filter Timeline Editor" from top to bottom in the order of their addition (rendering will follow the same sequence when multiple filters are added). When you right-click a filter in the "Filter Timeline Editor", the following page will appear.
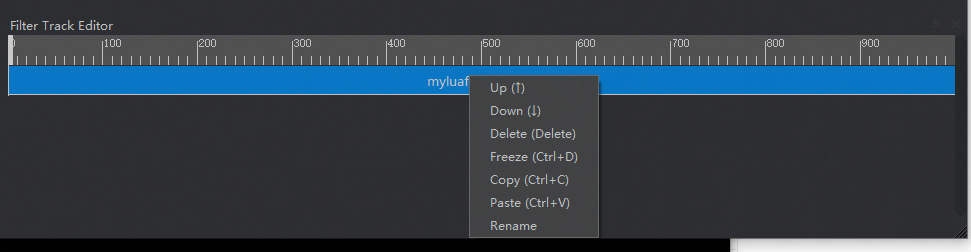
Wherein,
The file for the sticker filter is "face3dplane.oflua".
You can replace a filter in your effect with our provided face3dplane sticker filter (create a new LuaFilter file in your effect [see "Add a filter" above], then replace it). Specific steps:
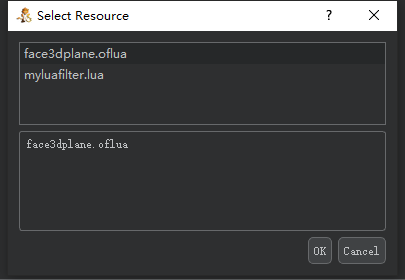
As shown below, on the "Filter Timeline Editor" page, select the filter to be replaced. In the "Filter Editor", you can see this filter's configuration. Here, replacement refers to replacing the path of the Lua script mapping to this filter.
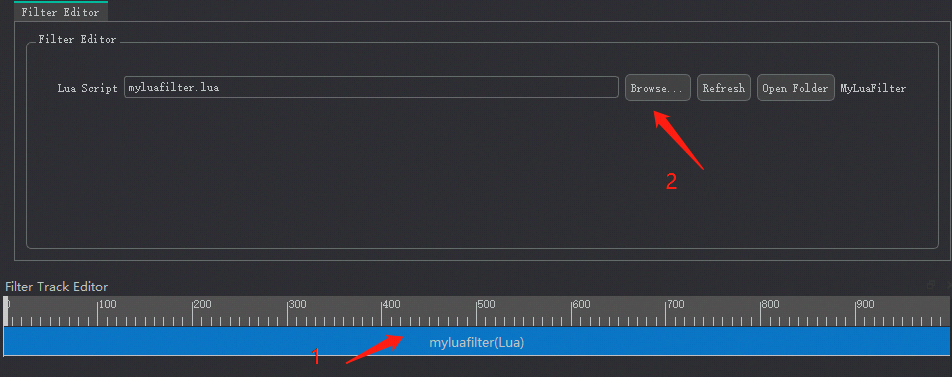
Click "Browse" and select the "face3dplane.oflua" option. Click OK. Now filter replacement is complete.
Sticker filter parameters on the "Filter Editor" page are as shown below:
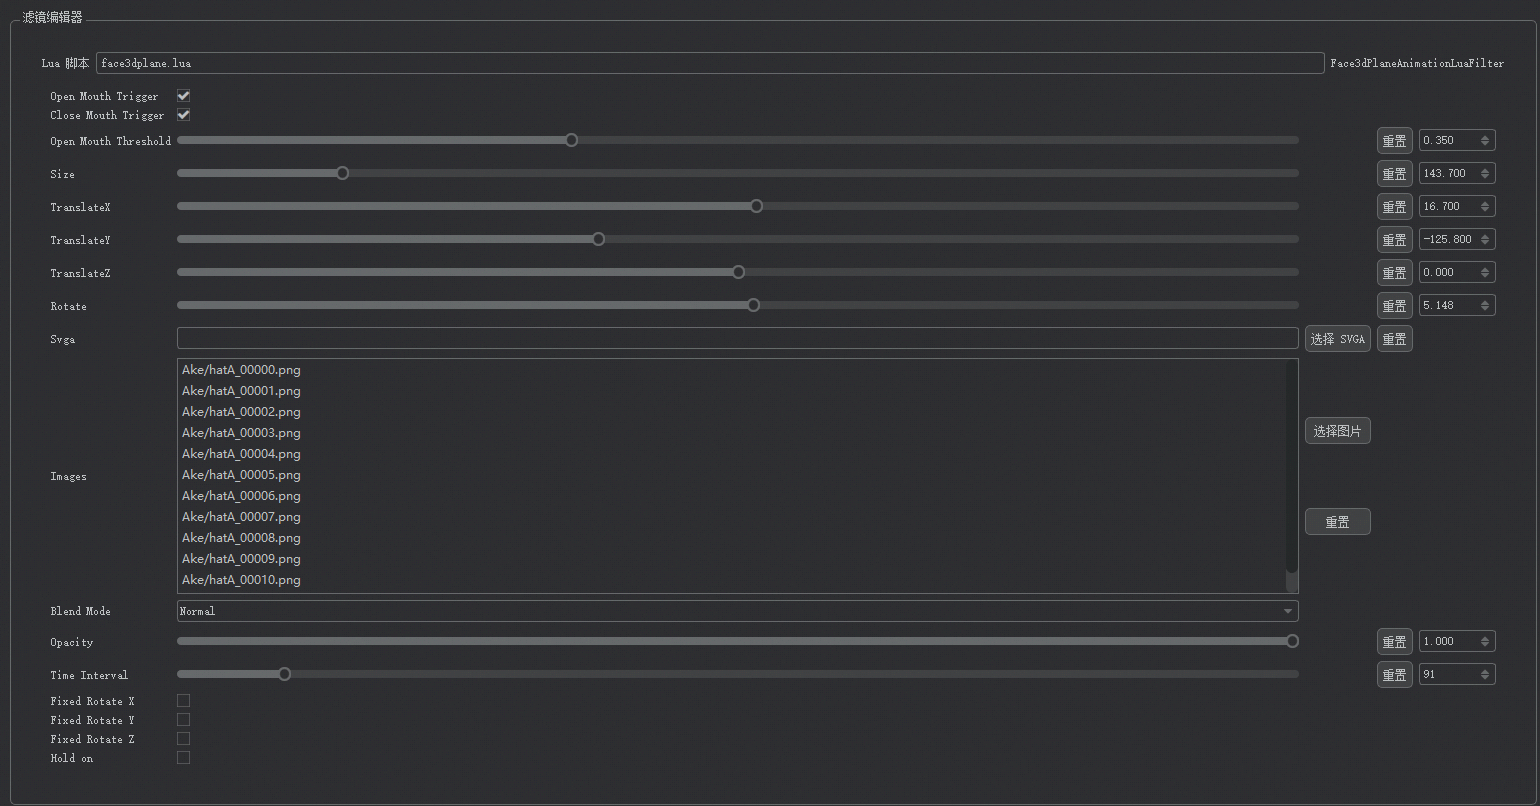
Sticker filter editor parameter descriptions:
Trigger
Position settings
Animation file
Other effect settings
Once you have designed all your effects, you can bundle them up (remember to save the effects). To bundle effects, click the  button on the Toolbar or "Release/Pack-Up" in the Menu. The bundling page is shown below.
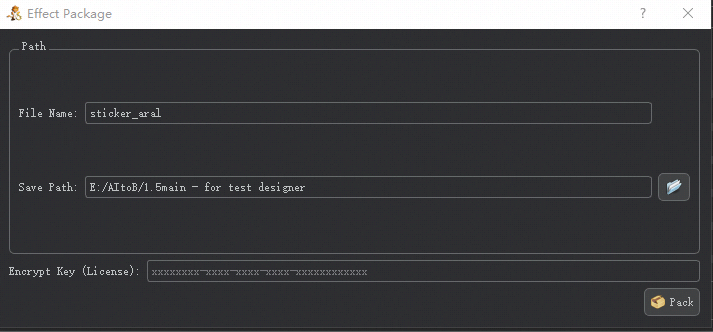
You can set package name and save path, leaving other settings unchanged. Click the "Bundle" button. Effects are now packaged together.
 Helpful
 Not helpful
 Submitted! Your feedback would help us improve the website.
 Feedback
 Top
Top